how to make clarified butter or ghee
Updated on January 11, 2018, video at the bottom of this post! 👇
A few years ago, a chef friend came to cook a special dinner for Tim and me in our home. I remember her clarifying the butter before she used it in the Veal Osso Buco and buttered potatoes. Amazing meal. I had no idea you could remove the milk solids from butter and still have beautiful pure butterfat. What?
Simply put: clarified butter doesn’t burn as quickly (higher smoke point) and can withstand higher cooking temperatures than regular butter, olive oil, and many other fats. Therefore it’s a favorite among chefs and anybody who prefers NOT to burn your food and loves the taste of butter. Hello, me! Also, cooking oils past their smoke point releases free radicals, and a chemical called acrolein. It made my prep list during my first Whole30, and I’ve been hooked on it ever since.
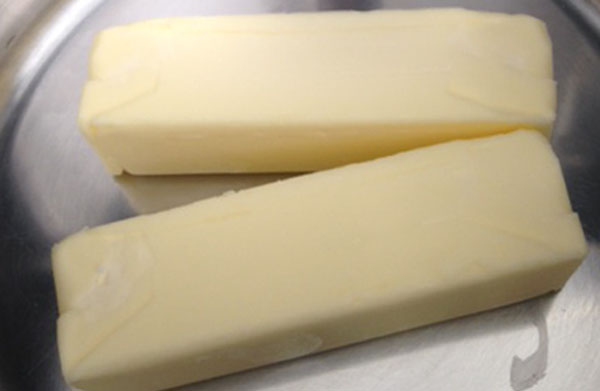
Use 2 to 4 sticks of organic butter, set into a saucepan over medium heat, so it gently starts to melt.
If the butter starts to bubble up and make noise, turn the heat to low. Let it simmer for 10 minutes.
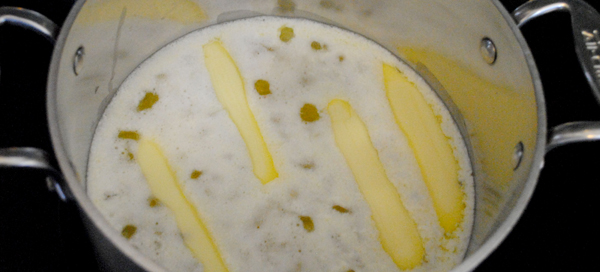
When butter is completely melted, let it cool off the heat and undisturbed for 10 minutes more.
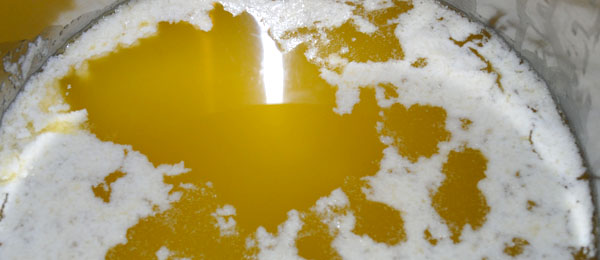
Clarified butter separates into three layers, the milk solids at the top, clarified butter in the middle and a thin layer of milk solids at the bottom. Using a spoon, gently pull off most of the milk solids sitting on top, being careful not to disturb the foam too much.
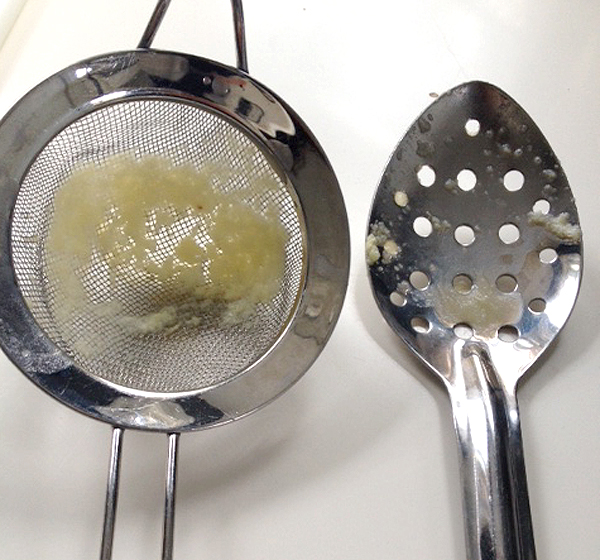
Lastly set up a dish to pour the melted butter through a strainer slowly and see if you catch any more solids. To be sure no dairy passes through, line your mesh strainer with cheesecloth, for an extra barrier.
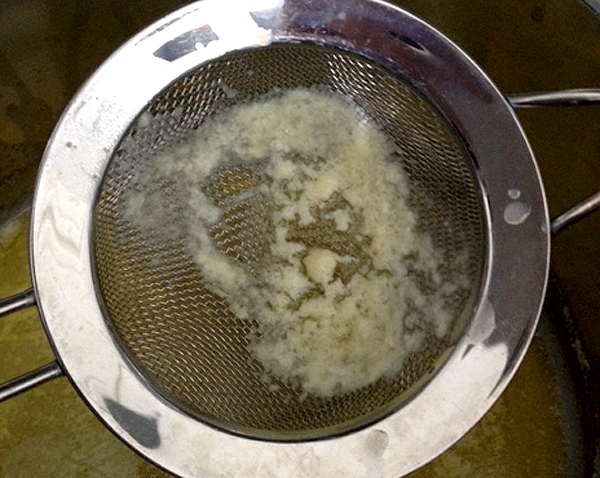
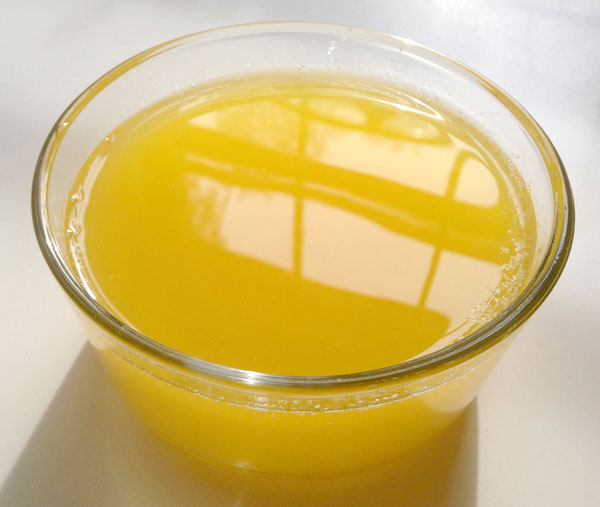
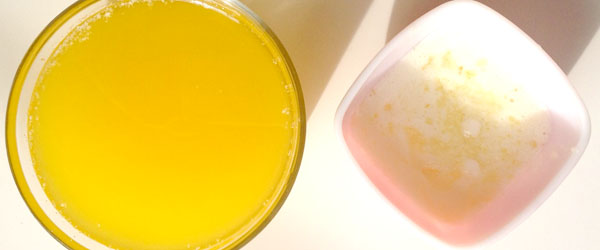
When you get to the end stop pouring the last little bit and leave the bottom layer of milk solids in the pan. Store your clarified butter in the fridge for at least a month.
Clarified Butter
Ingredients
- 2 - 4 sticks of unsalted organic butter
Instructions
- Set sticks of butter in a medium saucepan, heat on medium-high heat, and set the timer for 10 minutes. Turn it to low if the butter starts to bubble.
- Remove from the heat and let cool for 10 minutes more, undisturbed.
- Gently spoon off the milk solids on the surface of the separated butter.
- Using a strainer lined with cheesecloth, pour the clear butter into a storage container, leaving the last layer of milk solids in the pan if possible.
- Store covered in the refrigerator for up to a month. If using daily, I'll leave a jar on the counter for up to a week.
Equipment


This post contains affiliate links to products I know and love. I recommend any of them for this recipe!
Notes
I love this small but simple change in my cooking and weekly prep. Next, I’ll be posting my go-to breakfast. You’ll need clarified butter so make some, and you’ll be set!
Enjoy!
~Heather
Ghee: Is clarified butter that has been left to cook longer so that the milk solids separated on the bottom of the pan brown and give the clarified butterfat a nutty flavor before straining them off.
Last Updated on June 15, 2022 by Heather Bursch
4 Comments