How to color eggs with food dye for Easter
It’s the night before Easter, and all through the house, not a creature is stirring … except for me! 🙋🏻♀️ Yep, you can bet I’m checking my online grocery cart and wishing I hadn’t procrastinated on this holiday craft again. Vinegar added to cart? Check. White eggs? Nowhere to be found. Egg dye kit? Reluctantly, check. This story repeated itself for years. That is until Evie and I got creative with food dye last year and discovered how to make perfectly imperfect and vibrant colored eggs. Curious to learn how to color eggs with food dye? Let us show you how easy it can be!
Save this one in your holiday craft folder!
Just a few ingredients:
Why color eggs with food dye?
Honestly, coloring Easter eggs always sounded more fun than the reality of my underwhelming results. Even as a kid, I wanted to love those egg tattoos and shrink wraps, but they never turned out how I envisioned. Like ever. Writing on them with magic pens? Never worked for me. Poking it with a pinhole and blowing out the insides? First of all, gross. Second, did we just waste the eggs with this 80s trend?
Obviously, egg dyeing kits have been around for a long time, and they contain quite the list of ingredients, including maltodextrin, which can have traces of gluten I can’t have with Celiac disease, plus all the dyes I prefer to avoid.
Not to mention, when you learn how to color eggs with food dye, you not only create something original for your holiday celebrations but also reduce waste. So clean out that fridge, gather your supplies, and unleash your creativity.
Tips
What we learned using food dye!
- Want darker colors? First, you can let the food simmer longer, adding 1/2 cup more water if needed. Second, you can leave the egg in the dye for longer, even overnight in the refrigerator.
- Check your produce drawer for wilted veggies. Peelings and skins have pigments that are perfect for this project. In addition, see FAQ for more ideas!
- At the simmering stage, get creative with different combinations of natural ingredients. For example, add some purple cabbage to your herbs for a light lavender!
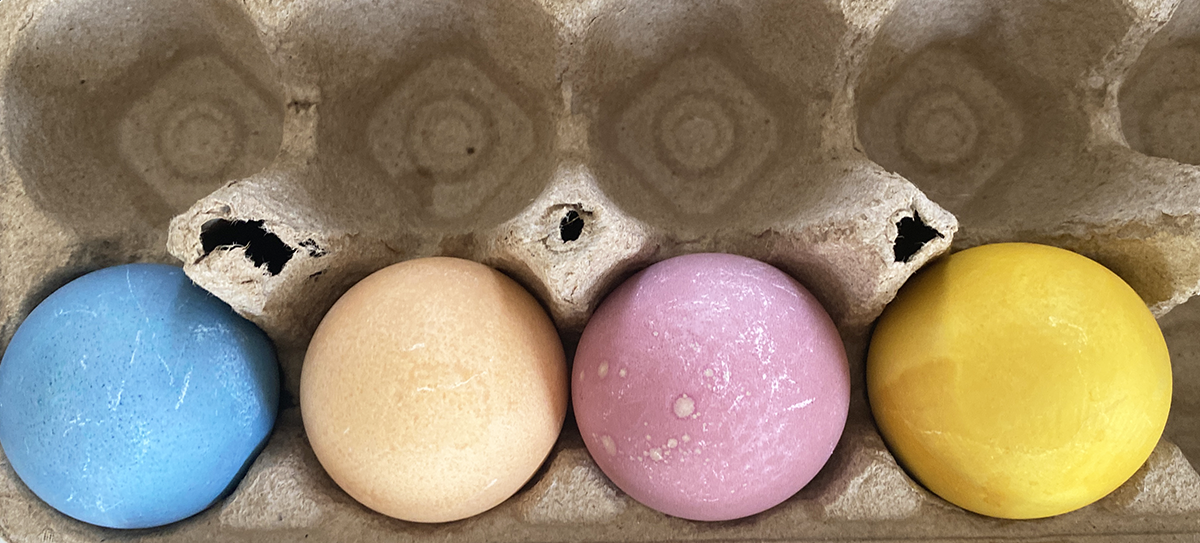
- Turn eggs occasionally to avoid white spots where the egg is touching the soaking dish.
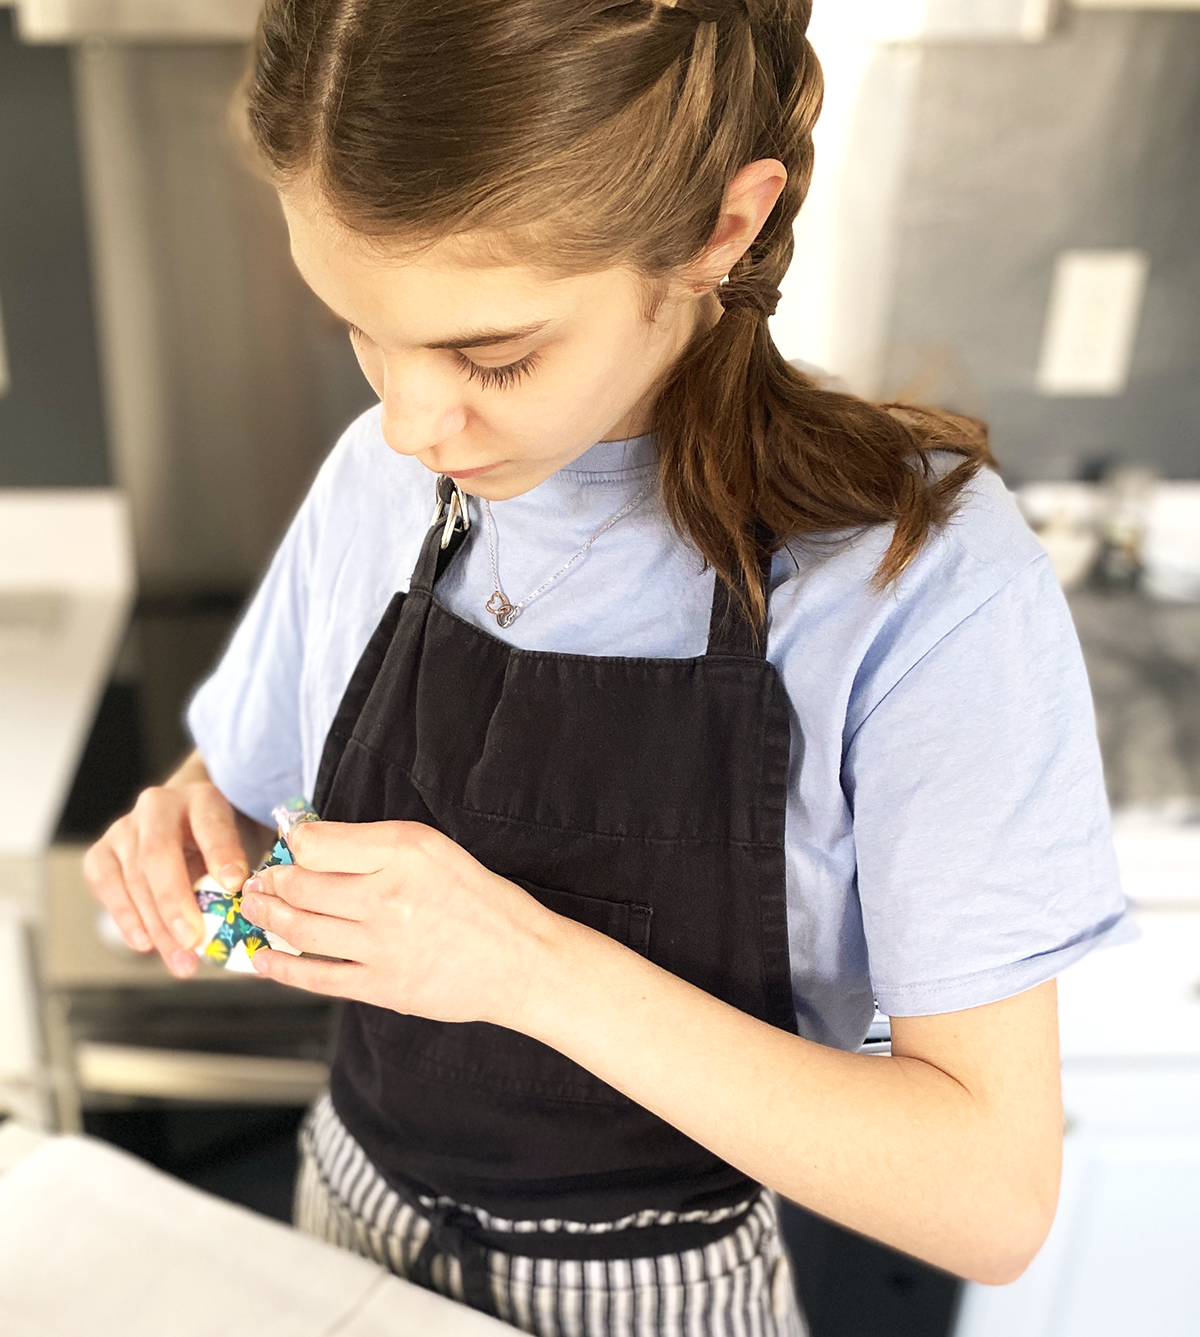
- Wear food-safe gloves and an apron so your skin and clothes don’t get discolored from the food dye, especially when handling beets!
How to color eggs using food dye for Easter!
Ingredients
- 1 dozen white eggs – Do ahead: make them hard-boiled
- large handful of onion skins
- large handful of carrot peelings – from 2-3 carrots
- handful of beet skin peelings – from at least one big beet
- 2-3 full red cabbage leaves chopped
- 2 large handfuls of greens – herbs, kale, carrot tops, spinach, or any green vegetable you have!
- Use your imagination!
Instructions
Prepare your dye mixtures:
- Gather chopped-up vegetables or scraps, thinking big handfuls for each batch. You can make as many batches at a time if you have extra pots and pans.
- For each color batch and vegetable stew you make, combine one quart of water and three tablespoons of white vinegar in a pot.
- Pick one handful or more of your chosen natural dye ingredients above and add it to the pot.
- Bring the mixture to a boil, stirring occasionally, then let it simmer for 30 minutes to extract the food colors. Set aside to cool.
- Repeat with the next batch as desired.
Strain your dyes:
- Once the dye has cooled, strain out the solids using a strainer, leaving behind the colorful liquid in separate bowls or jars.
- Let the dyes fully cool to room temperature before proceeding. You don't want to re-cook your eggs!
Dyeing your eggs:
- Place your white hard-boiled eggs into the dye baths using a slotted spoon, tongs, or ladle.
- Allow the eggs to sit in the dye for at least 30 minutes or longer for deeper colors.
- Rotate and flip them once for even coverage.
- For a unique design, experiment with wrapping rubber bands or applying Washi tape to the eggs before dyeing.
Inspect and dry:
- Carefully lift your eggs from their dye baths and let them dry with a paper towel or rag, gently.
- Look over your eggs and decide whether to re-dip for a darker shade, leave it as is, or remove the tape and dip in a new color. It's an experiment! Read the FAQs below about what can happen with too many dips!
- If you leave your eggs in the dye for longer, put your container in the refrigerator. You can even leave your eggs dyeing in the fridge overnight!
Admire your work:
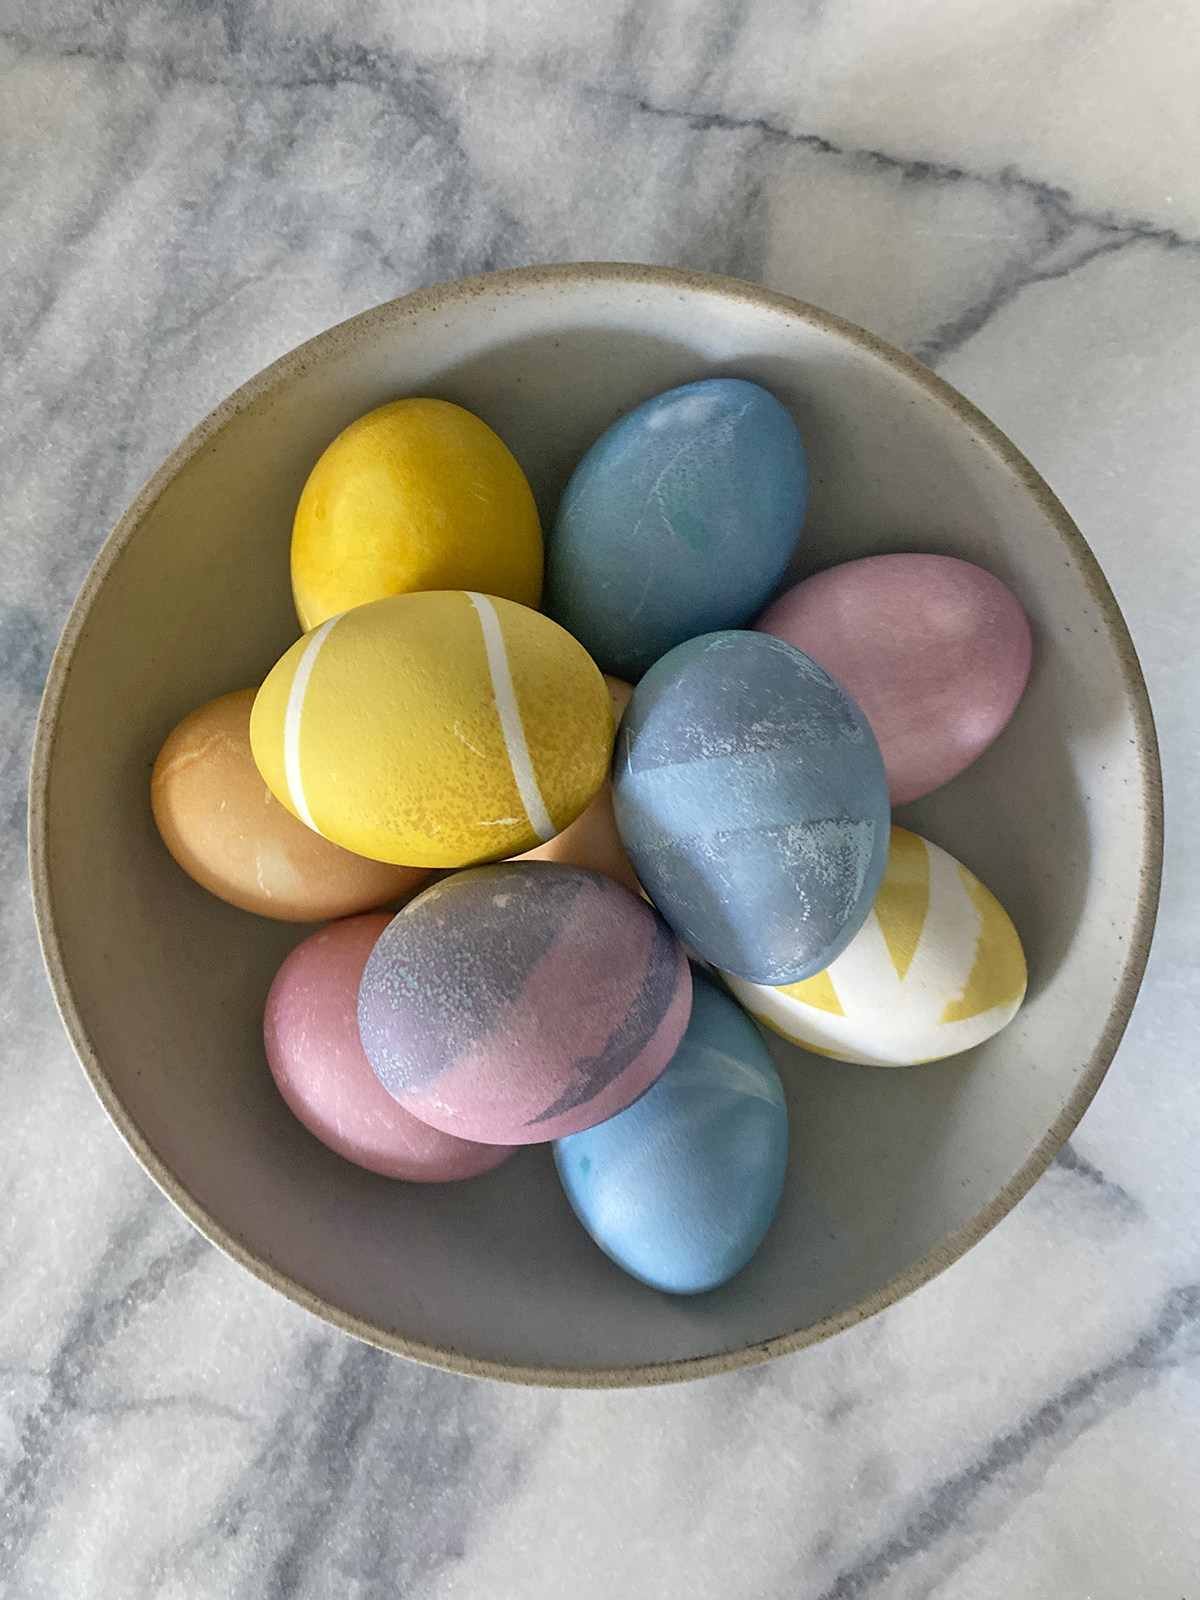
- Behold your unique and one-of-a-kind homemade dyed eggs. Store your eggs in the fridge, display your beautifully colored eggs for an event (see safety storage tips below), or hide them for a festive egg hunt.
Storage and safety of hard-boiled eggs:
- Hard-boiled eggs should be refrigerated within two hours after cooking. When taken out for a meal, picnic, or an egg hunt, put them back in the fridge within two hours. Unpeeled eggs are good for up to seven days.
Equipment


This post contains affiliate links to products I know and love. I recommend any of them for this recipe!
Nutrition
FAQs: Easter eggs and food dye
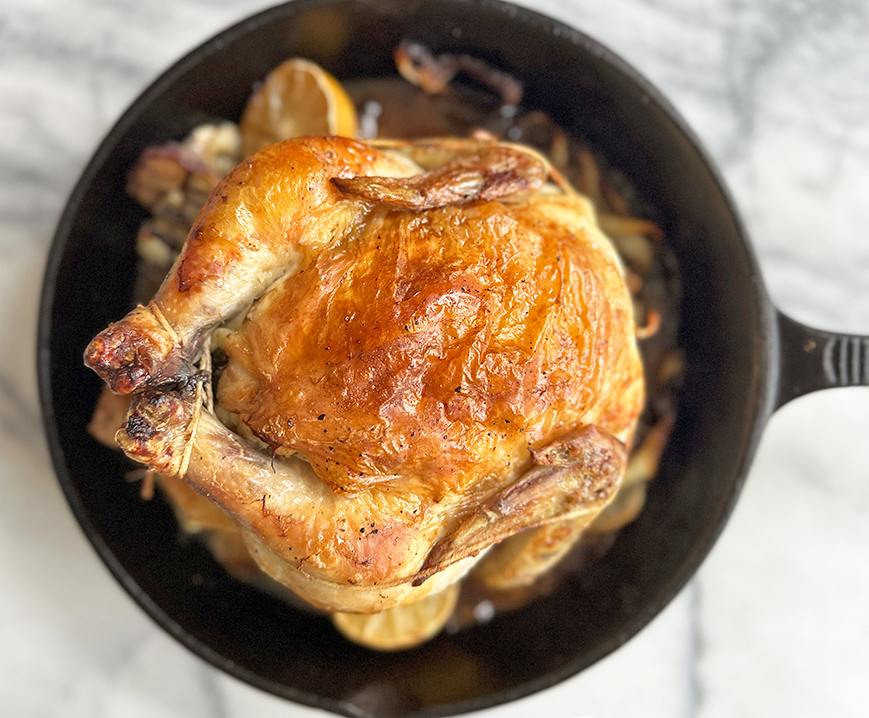
Do you love eggs as much as us but wish you knew how to fry, scramble, and poach them just right? Check out my Make It Homemade course, where we cover ALL the eggs, knives, juicy chicken, baking, veggies, and more!

Last Updated on March 20, 2024 by Heather Bursch

One Comment