How to Make Scrambled Eggs (Even in a Stainless Steel Pan!)
Tired of being the short-order cook? Here’s how I taught my family to make scrambled eggs on their own—using my favorite method in stainless steel pans for the best-tasting eggs around.
Pin this scrambled egg tutorial for later!
Yes, You Can Master Scrambled Eggs (Even in a Stainless Steel Pan!)
One weekday morning, I realized our kitchen had become the local diner. Without meaning to, Tim or I were making eggs to order for everyone at different wake-up times. This meant multiple pans and dishes by the time the last kid was on the bus. Most importantly, eggless children were hungry in an hour if we weren’t making eggs to add to breakfast choices. Something had to shift!
I invited the whole family into the kitchen for an emergency egg lesson and new house rules. Kids, you all need morning protein. Additionally, everyone can learn to make their own eggs. And last but not least, when you make it, you can clean it.
While we will make eggs for each other (like when we all vote for scrambled!), everyone in the house knows how to make them, even in our stainless steel pans. Because stainless pans need a bit of skill and patience, this method is worth the upfront learning—it gives you soft, perfectly done scrambled eggs every time.
Ready to master your morning eggs? Here’s how we make scrambled eggs that are just-right (and never dry) in any pan, with confidence. You got this, kid!

How to Make the Best Scrambled Eggs
Step #1
- Crack and whisk your eggs.
- Whip until white and yolks are combined and fluffy.
- Add a pinch of salt and whisk again.
Step #2
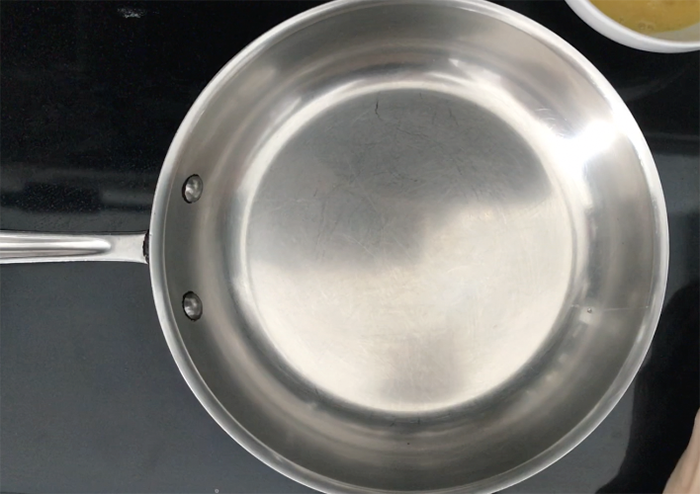
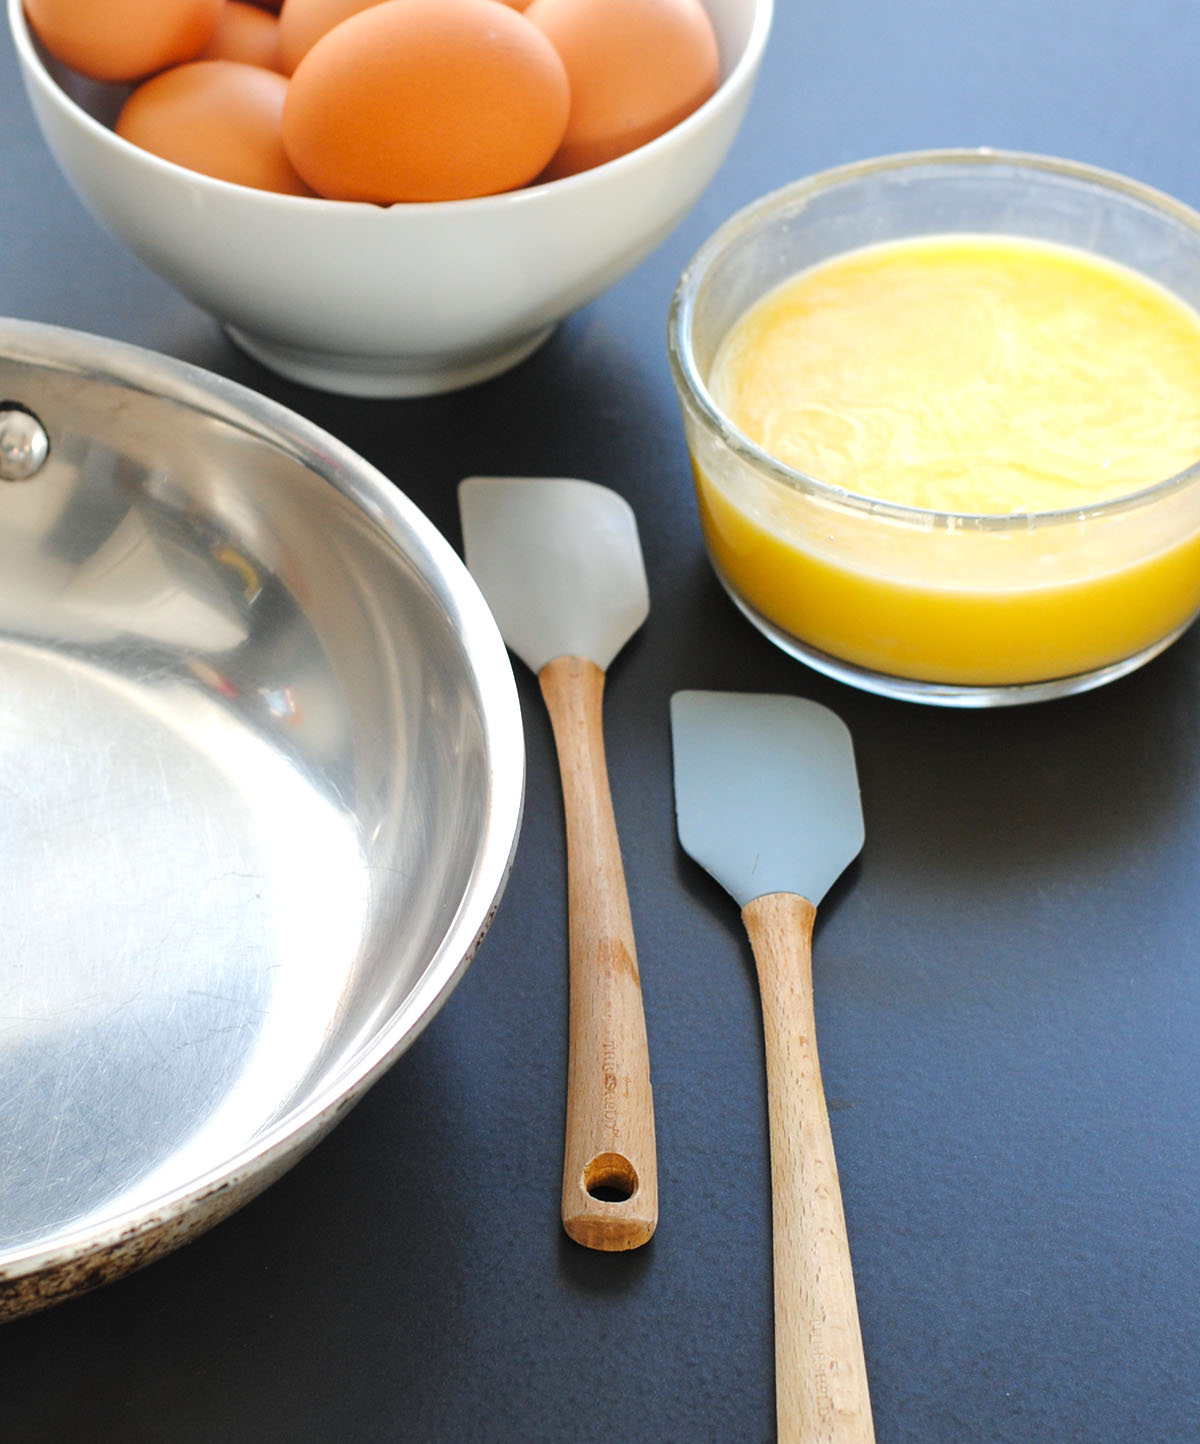
- Preheat your pan. I let my stainless steel pans heat up for about 1-2 minutes. Optional: You can test the heat with a small drop of water, and if the drop hops around your pan, it’s ready. If it barely sizzles, give it a few more seconds.
- Next, turn the heat to medium when you add the fat. (You want your pans hot enough so the fat melts quickly, but not so hot that it smokes.)
- Once the fat melts and moves quickly about the pan when tilted, it’s ready for your eggs.
Step #3
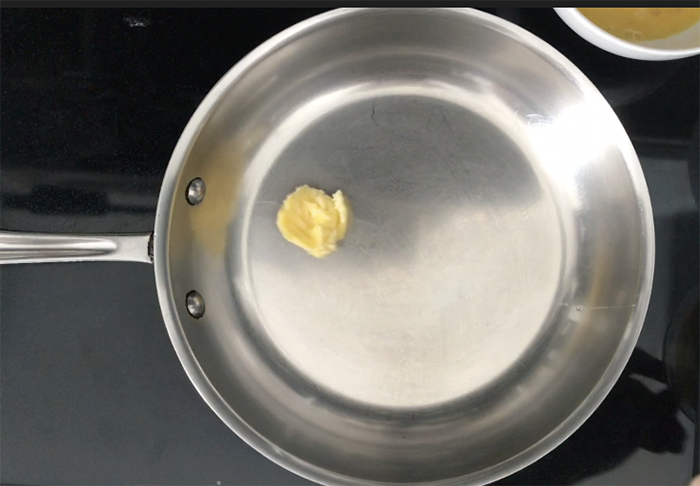
- Add oil, ghee, or butter.
- Let your fat melt until it moves quickly but doesn’t brown.
- If your fat cooks or smokes, your pan is too hot; start over before adding eggs.
Step #4
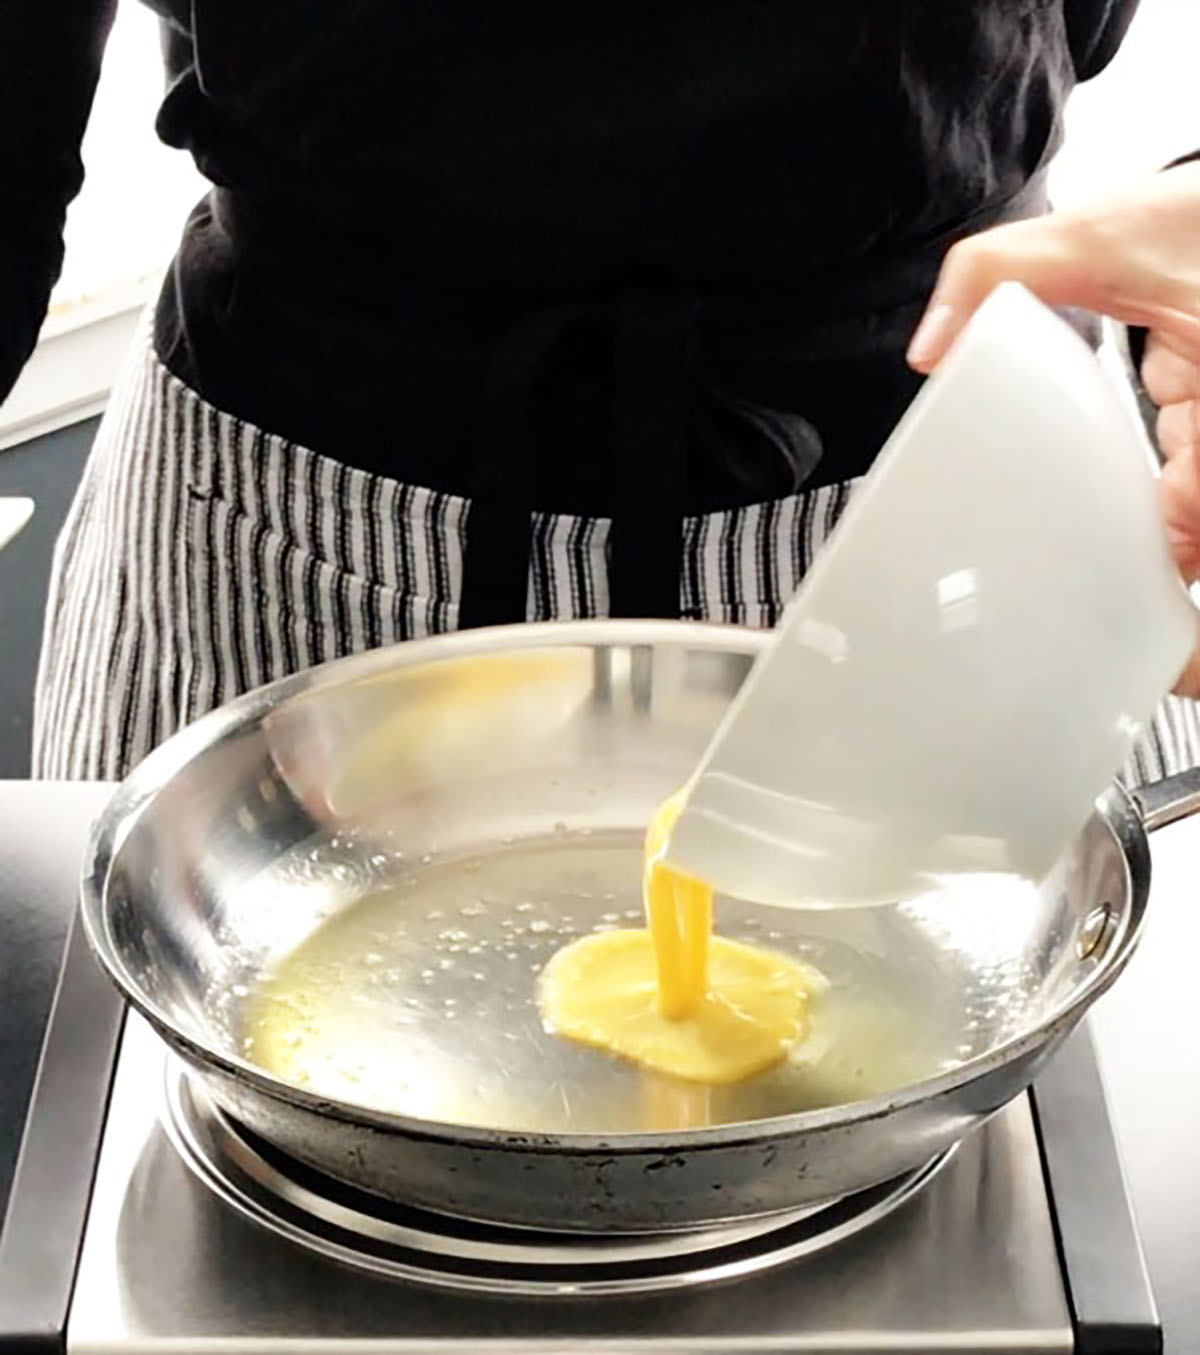
- Pour eggs into the prepped pan.
- Let eggs sit for a few seconds until the edges cook, bubble, and transform.
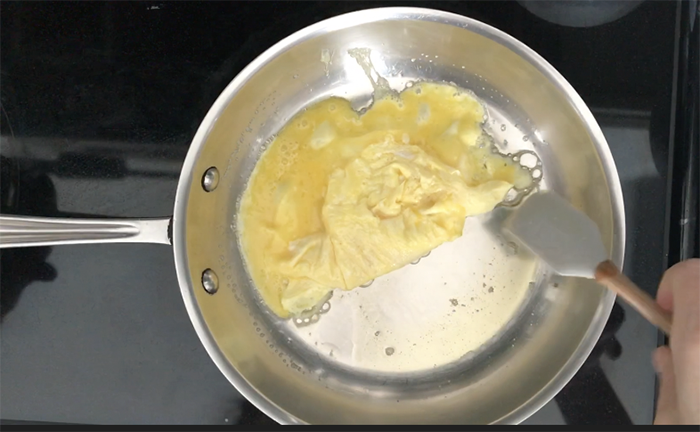
- Scrape eggs towards the center and fold inward, so the fat trail follows behind your spatula.
- Gently fold the eggs once or twice more, letting uncooked parts briefly touch the pan surface. (Don’t chop the eggs to bits—less is more when it comes to tender eggs.)
Step #5
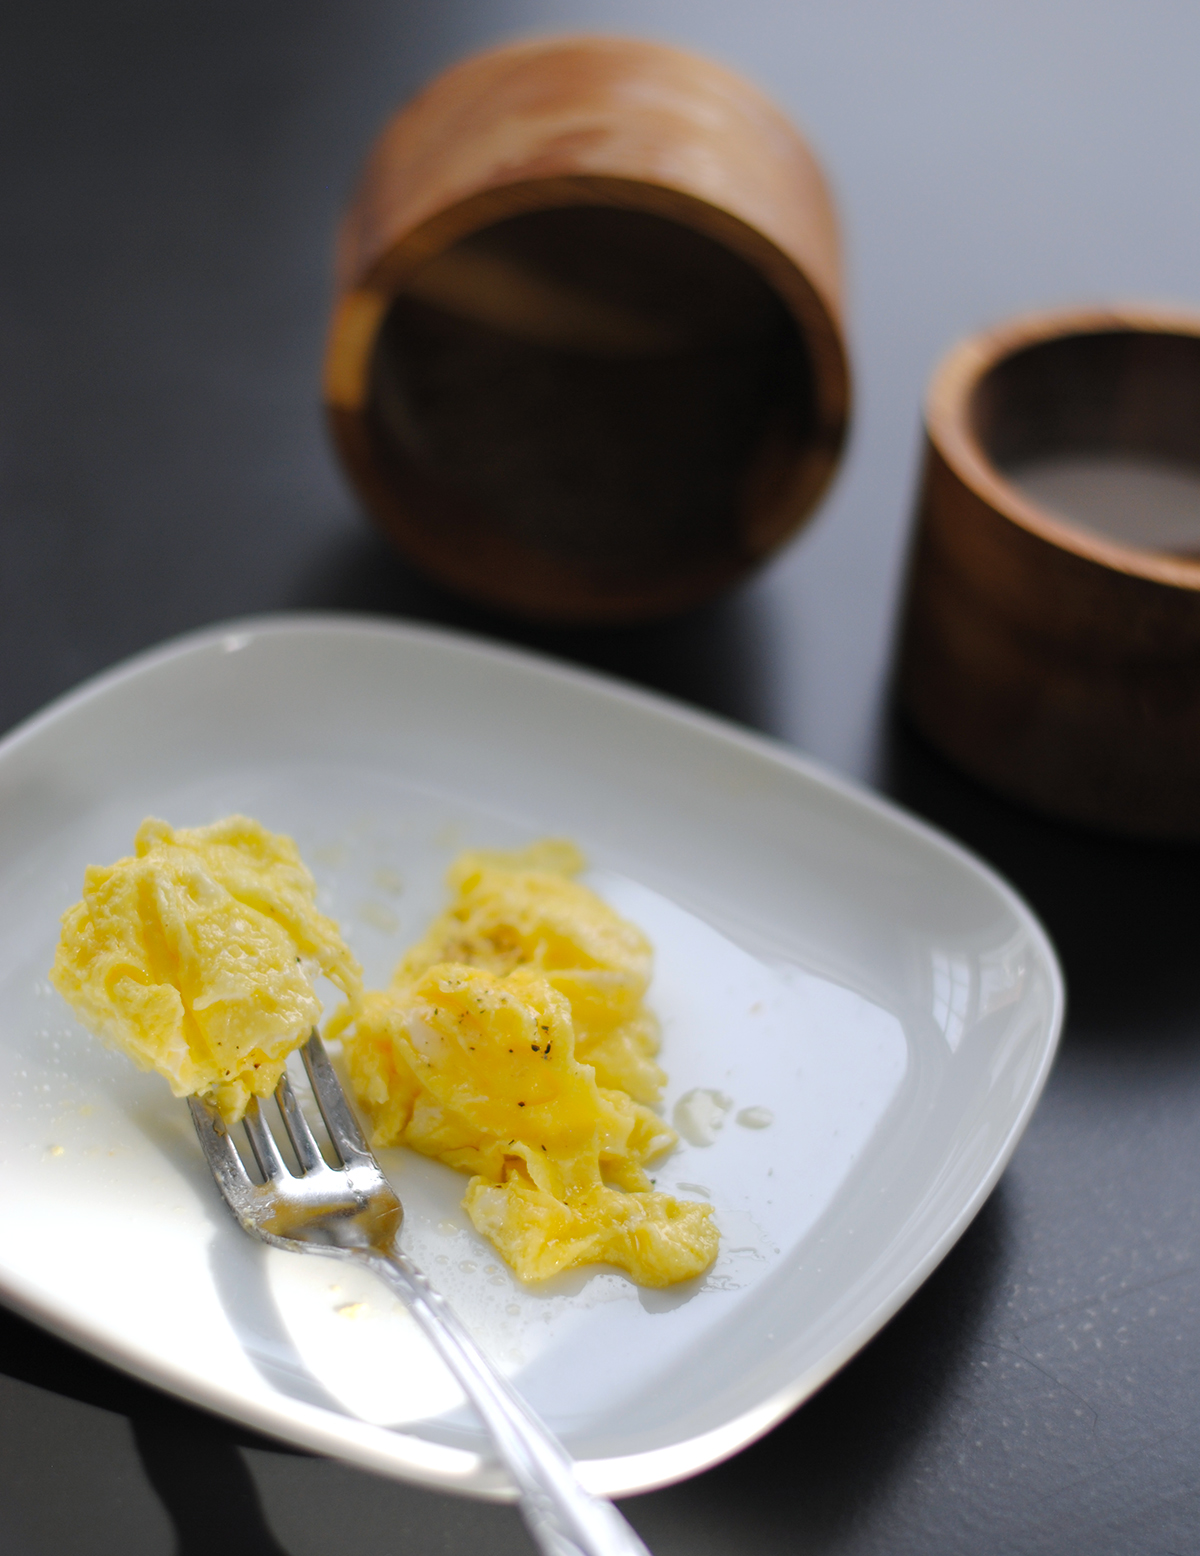
- Dish up your soft scrambled eggs.
- Like them more cooked? Then let them sit or scramble in the hot pan for longer.
- Add salt & pepper to taste.
- Enjoy!
P.S. Want to feel more at home in your kitchen? My Make It Homemade course teaches you the simple skills (like mastering eggs!) that make cooking feel doable—and fun: six lessons, tons of tips, no stress.

Why I Make Scrambled Eggs Without a Nonstick Pan
How I ended up not having nonstick pans wasn’t because I read an article that scared the $%& out of me. (Those are out there if you’re into scary stories.) The less dramatic truth is that my last nonstick pan died when it became warped, scratched, and ready for the trash, as they often do.
When I started looking for a replacement, a well-meaning friend said, “Well, you have to have a nonstick pan for eggs, don’t you?” And because I’m a little stubborn (and curious), I decided to test this theory. So, instead, I pulled out the stainless steel All-Clad pans for breakfast and practiced. And in the process, I figured out how to make the best scrambled eggs of my life.
All pans are not created equal! As a personal chef and home cook who has tried many options, check out my post on over-easy eggs for all my pan recommendations!
Tools that make scrambling eggs easy!
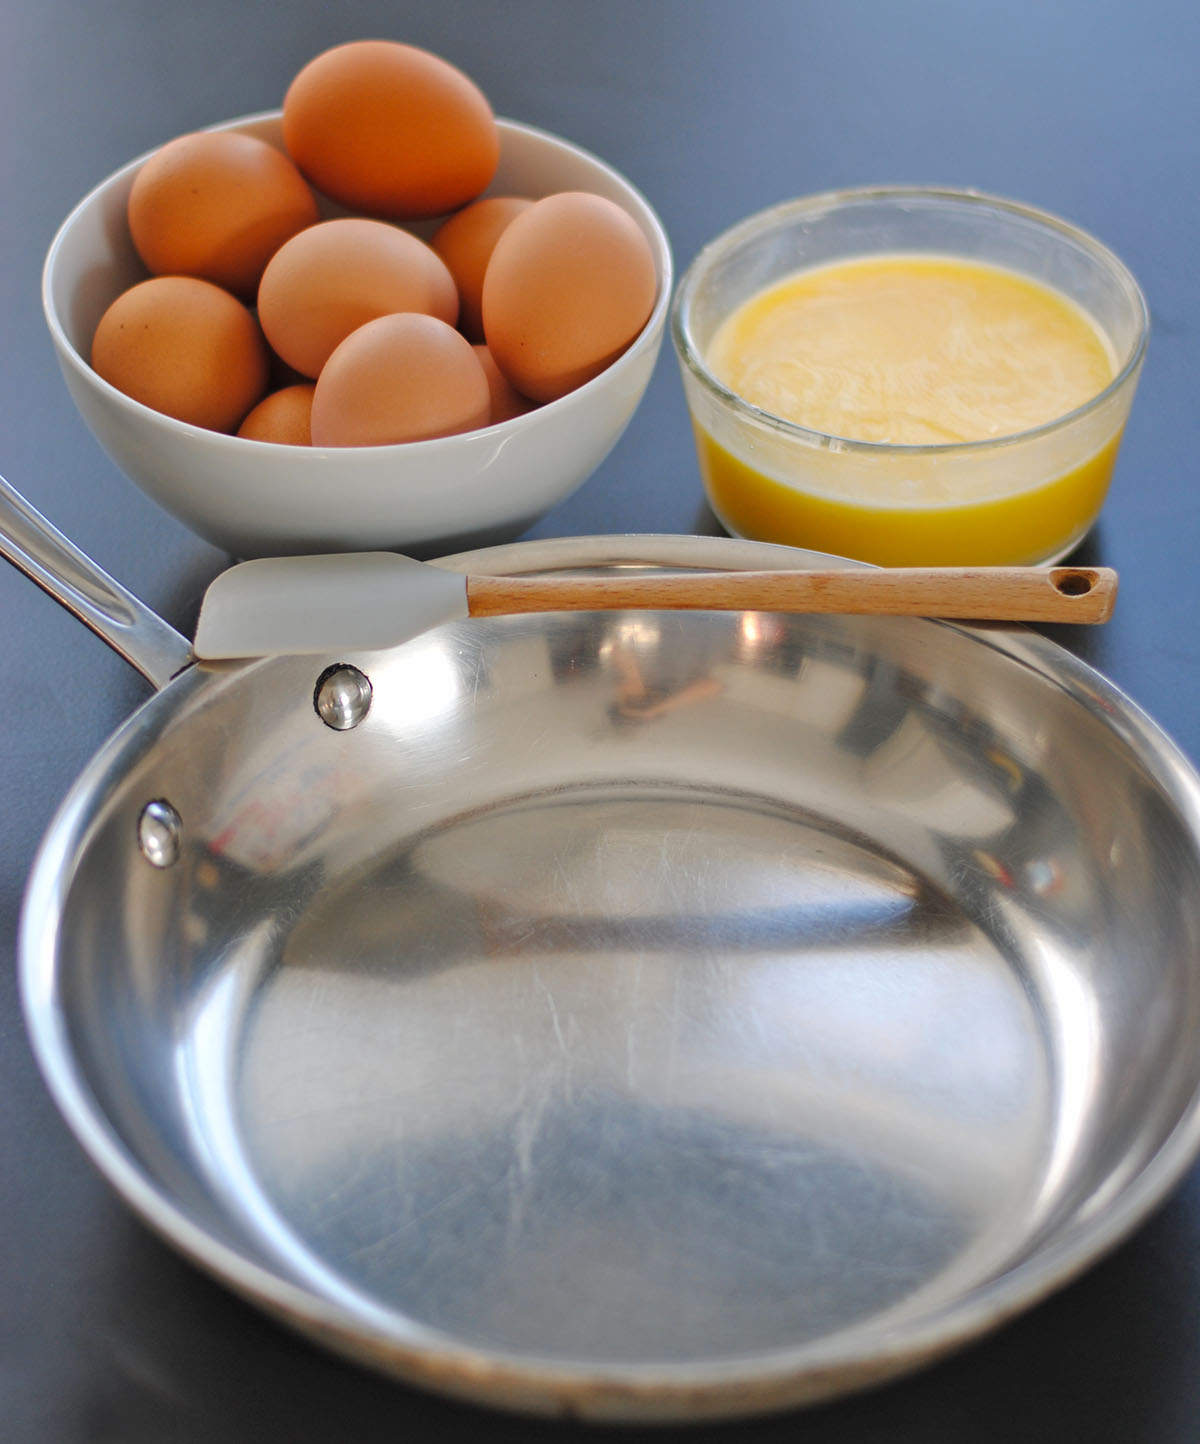
Note on spatulas: A flexible silicone spatula works best for scrambling eggs in stainless steel pans. It’s gentle enough to fold and scrape without tearing your eggs apart. I like to scrape and fold—not stir and chop—so the eggs stay together and don’t dry out.
How to Keep Scrambled Eggs from Sticking
Tips
- For best results, don’t rush preheating the pan or the oil—heat them in this order. See the recipe below for specific timing!
- Keep the heat high enough to cook the eggs quickly, but not so hot that they brown. Matching the right amount of heat to your pan and fat choices takes a little practice.
- Scrape and fold eggs toward the pan’s center so the fat trail follows your spatula and recoats the surface.
- Experiment with the amount of fat. In the video below, I use more fat than needed to show you how it works—and how the leftover fat stays in the pan.
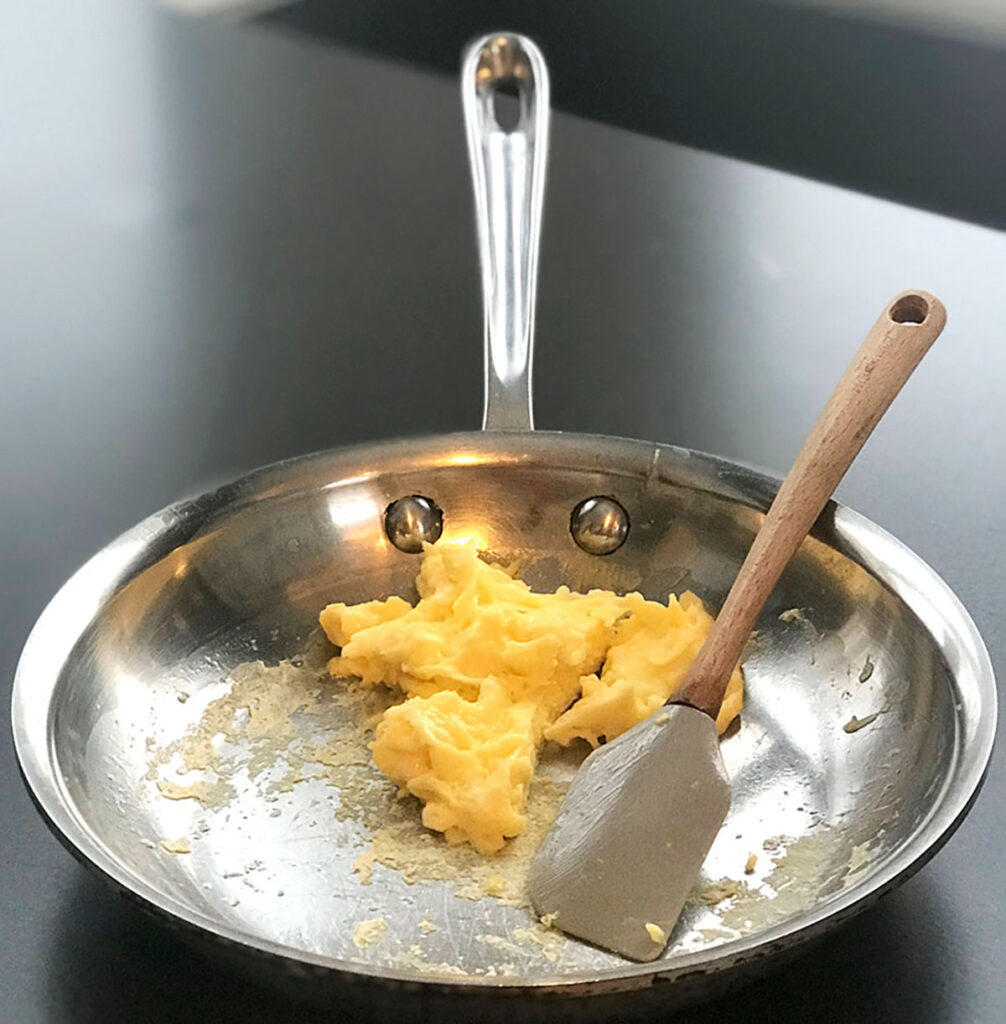

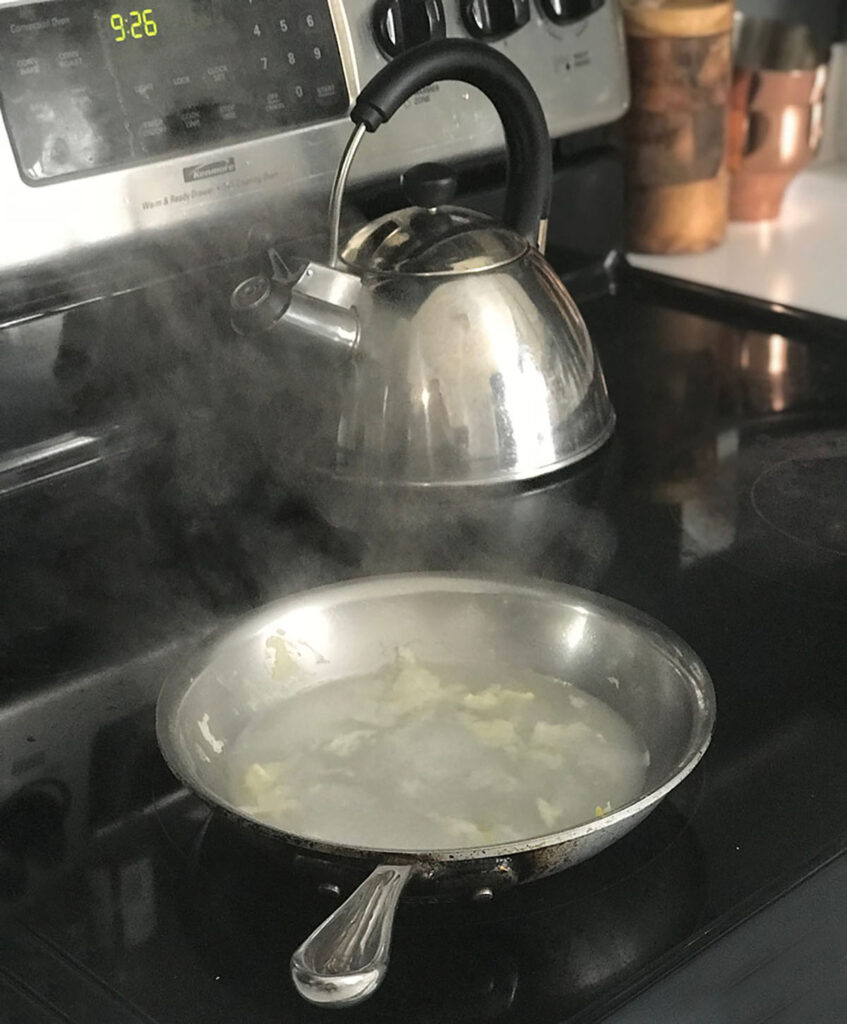
Note: Making scrambled eggs that don’t stick takes a little practice! Occasionally, they will stick! To clean stuck-on eggs, I add boiling water from my kettle to the pan and scrape gently with a metal spoon or spatula, like deglazing. The egg residue lifts quickly, and washing the pan is simple. You can also add cold water and cook on low heat to loosen the stuck bits.
Watch Me Make Scrambled Eggs in a Stainless Steel Pan
How to Make Scrambled Eggs (Even in a Stainless Steel Pan!)
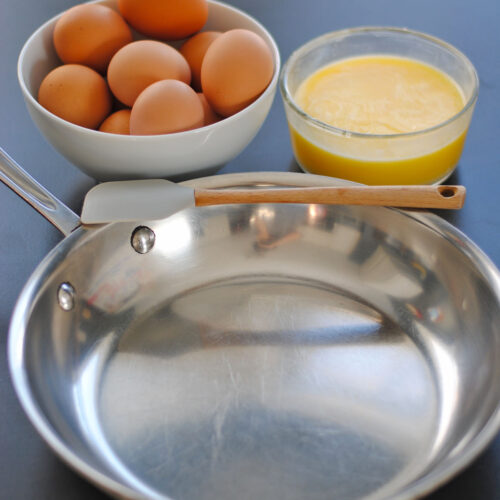
Ingredients
- 2 teaspoons olive oil, clarified butter (ghee), or butter (Recipe for clarified butter or ghee!)
- 2 eggs whisked well
- salt and pepper to taste
Instructions
- Crack and Whisk Eggs: Crack your eggs into a small bowl. Whisk with a fork or whisk until the whites and yolks are fully combined and fluffy. Add a pinch of salt if desired.
- Preheat the Pan: Place your pan on medium-high heat and let it preheat for 30 seconds to 1 minute. Preheating helps create a natural nonstick surface
- Add Your Fat: Add olive oil or clarified butter (ghee) to the pan. Let the fat melt and heat up for about 1 minute. Tips: *Your fat is ready when it moves quickly and easily around the pan when you tilt it in a circle. *If the fat moves slowly or doesn’t coat the pan, give it a few more seconds to heat.*If the fat starts to smoke, it’s too hot—lower the heat and start again.(If using butter, watch carefully—it melts fast and can burn if your pan is too hot.)
- Add the Eggs: When the pan and fat are hot (but not smoking), pour in the whisked eggs.
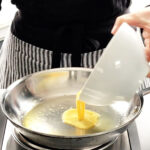
- Scrape and Fold the Eggs: Let the eggs sit for 5–10 seconds, just until the edges start to set. Using a firm silicone spatula, gently scrape the eggs toward the center of the pan, allowing the melted fat to follow and recoat the surface. Fold and turn the eggs carefully a couple more times—this helps maintain fluffy folds instead of breaking them apart.
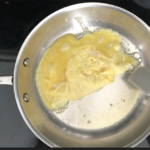
- Finish Cooking: Cook the eggs until they’re done to your preference. For softer eggs, about 1 minute total cook time is plenty. For drier eggs, you can fold and cook a few seconds longer. *Avoid over-stirring or chopping the eggs too much—less movement keeps them tender.
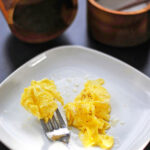
- Remove from Heat and Serve: Immediately remove the eggs from the pan to a plate to stop them from overcooking or drying out. Add a sprinkle of salt and pepper to taste. Enjoy!
Equipment
This post contains affiliate links to products I know and love. I recommend any of them for this recipe!
Notes
Nutrition

How to Make Scrambled Eggs FAQ:
Our Favorites
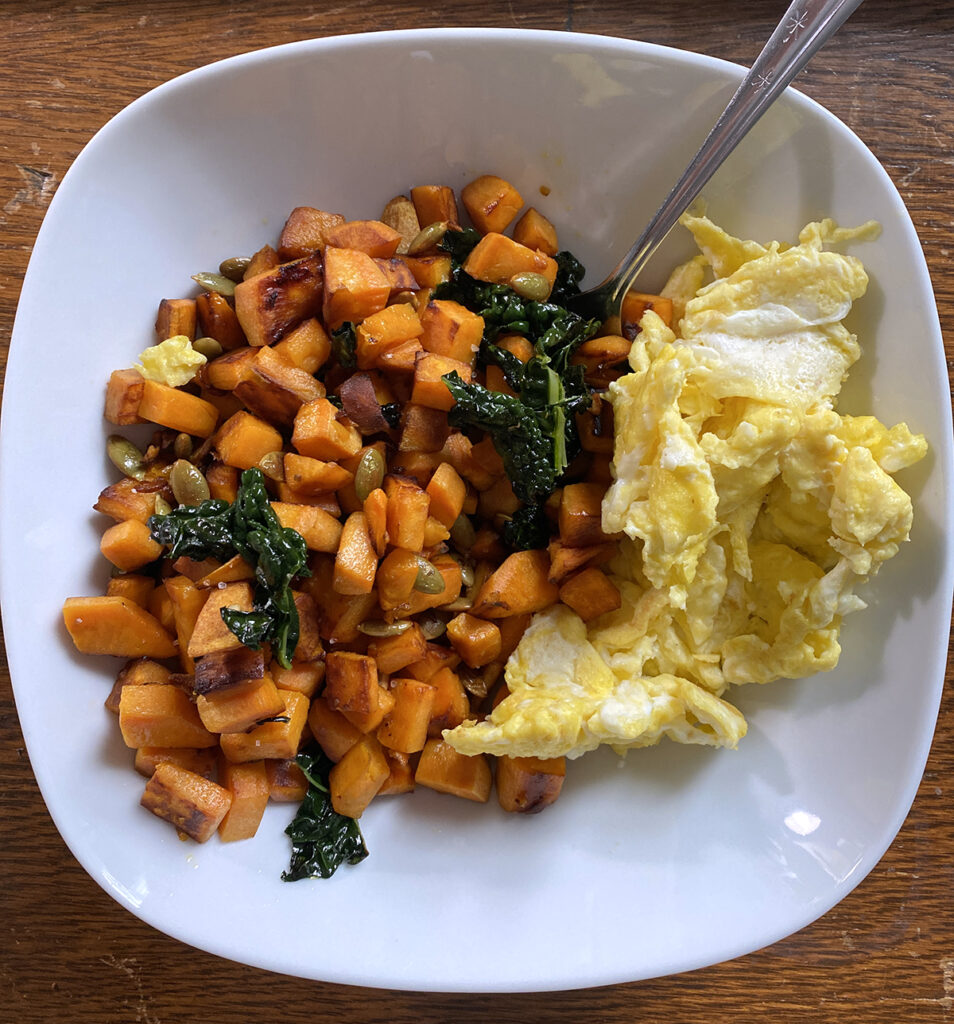
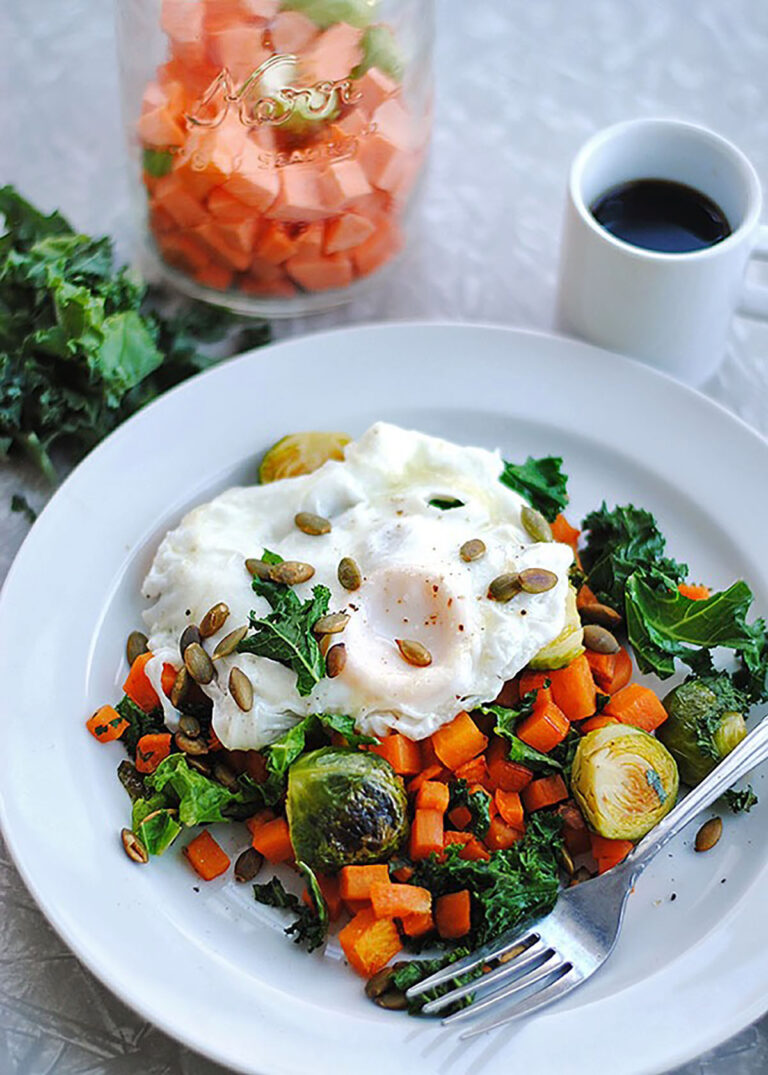
What to pair with delicious scrambled eggs:
Get My Meal Prep Guide For FREE!
When you subscribe to my weekly newsletter, you’ll get the top 3 meal prep recipes anyone can make, plus tips and ideas for making cooking fun and doable.
More Ways To Cook Eggs Your Way
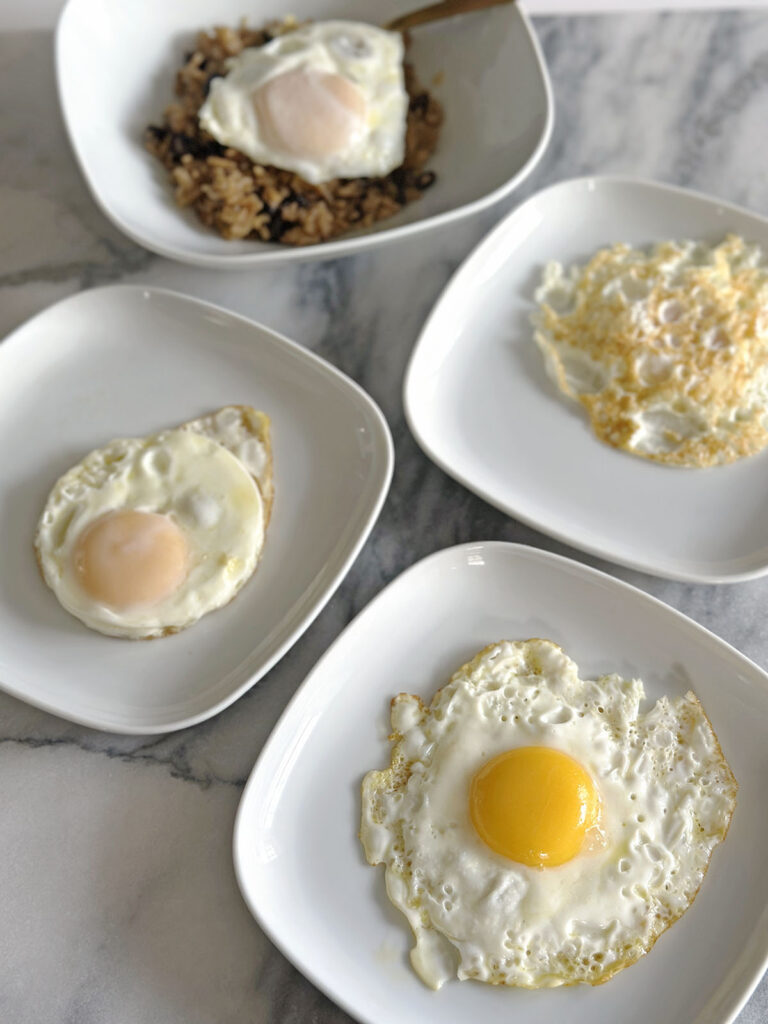
How would you like your eggs? Boiled, scrambled, or broiled? I do them all in my stainless steel pans.
Did You Make It?
Mention @heatherbursch so I can see your creations!
Wondering what else to make this week? It would be a privilege to show up in your inbox. I share weekly tips, real-life cooking wins (and fails), and ways to make homemade food feel way more doable.
👉 Sign up here to get my free Meal Prep Guide and join the list.

Last Updated on May 6, 2025 by Heather Bursch




Thanks so much! I was already doing a lot of these, but the tip to move the eggs from the outside in so the oil can follow took me from some sticking to zero.
“ If there is a layer of egg film cooked on the bottom of your pan, try to adjust next time.”
What is it that you would adjust?
Hi Henry! I’m so glad you asked, I will update this post soon, and your feedback is helpful since I wasn’t clear here! When this happens, I question whether I had the pan hot enough before adding the eggs, so next time, leave it to heat up a little longer than you have been for your stovetop and pan. Next, if you don’t hear sizzling and bubbling a little of the eggs immediately when you add the eggs, you know you didn’t wait long enough. In that situation, don’t stir yet; give it a minute before you start stirring the eggs. If you stir right away, you are essentially just stirring in the oil to your eggs, and you’ll have a film you can’t recover from. If you leave it a bit longer, chances are the oil will stay as a barrier, and once the edges start to bubble, try scraping firmly and proceed.
On the other hand, if your eggs sizzle intensely when you pour in, stir fast and cook them by stirring a lot, and they’ll be done quickly. Your pan may have been too hot, but it’s ok if you keep an eye on it, turn down the heat and stir quickly. Lastly, if you continue to have sticking, you may need to play with adding more fat to your pan once the pan is heated. Swirl or brush it around, so the whole bottom is covered. If you don’t like how much is required, you can slowly cut back, and for sure, if the egg scraping goes better, you won’t have to stir in all the oil; remove the eggs right away and leave behind the oil edges. I hope that helps!
Thanks for your reply!
I am in the process of ridding my nonstick pans but it takes some getting used to. Your article gave me some nice tips and pointers.
You’re welcome! I love using a rubber spatula with a firm edge, by the way. And good luck! It does take getting used to, but we’ve never gone back once we’ve figured it out! 🙂